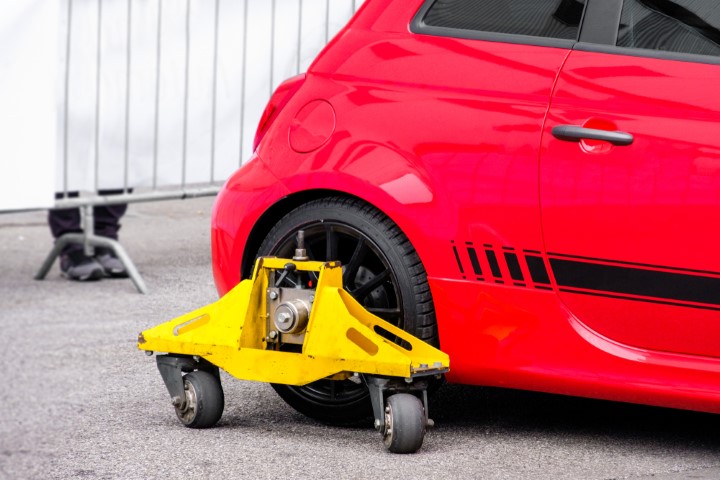
Being a car owner, you should have a car dolly in your garage. It is a simple mechanical tool that is made up of metal rods. Either you are thinking about making a DIY car dolly or searching to buy from a shop, its jack should be strong enough to carry the weight of your car. Moreover, you can also take it down to the surface for moving the vehicle.
These automobile skates also help you move your vehicle from one place to another. Considering all these uses, professionals recommend every car user to have this tool in the garage. It’s even great if you learn how to make a wheel car dolly because the process will make you technically sound.
How to make a wheel car dolly?
If you want to buy this tool from an auto shop, that’s fine. However, learning how to make a dolly at home can save a lot of your money. All you have to do is to give it enough time and put some effort. We are also here to help you learn the process of making the best car dollies at home. Following are a few steps that you need to follow:
1. Material Collection
You have to start the process of making a garage car dolly by collecting relevant material. This is because when you will start working on the structure of the dolly, you will have them nearby you. So, there will be a smooth working process.
Here is the list of materials you need to make the car tire skate or dolly:
- Plywood sheet
- Casters
- Nuts
- Bolts
- Rubber wheels
Other than these materials, you will also need a hammer, wrenches, and drill machine to complete the task. Collect the best ones so that they make your working process easy for you. Also, you will be able to do everything with precision.
2. Preparation of Plywood Sheet
Preparation of plywood sheets is the second learning step about how to make a car dolly. You have to cut them in square shape. The size should be such that you can handle the car tire under it. Experts believe that there should be three layers of these sheets under each car wheel. For this purpose, you have to cut all of them with the same shape and size.
After completing the cutting process, start joining the sheets with each other. You can use a good-quality glue to ensure their firm attachment. Now, wait until they stick together. Now you can start putting them together to start the next step of making the car wheel dolly.
3. Fasten the Casters
The third step to follow while you are learning how to make a wheel car dolly is to fasten the casters. As you are done with the preparation and assemblage of plywood sheets, start attaching the casters. Before attachment, spot the right position where you need to install them. It is very important to do it carefully because it will ensure balance in the dolly structure when it will hold the car.
After this, start attaching them properly. Check each one as you complete the installation to ensure its 360-degree movement. Use a drill to make holes, and then fasten the nuts and bolts. Repeat the same for other casters as well to ensure they are all in perfect form and position to support your car wheel dolly or skates.
4. Try Out the Dolly
Now, this is the time to try out your homemade car dolly. This is the last step towards the development of the dolly structure. Till now, the process must be very simple and easy for you. However, testing is the main step where you come to know that whether your efforts brought the results according to t your expectations or not.
For testing, just move the dolly without putting the car on it. You have to check the casters at this stage. They should be moving smoothly as you drag the dolly. If this is fine, then check the same by outing the car on it. Besides, just checking the smooth movement, you need to identify the amount of weight it can hold without any trouble. Try to identify the highest weight carrying capacity of your dolly to decide future use. You will know exactly how much weight it can handle in case you buy a new car in the future.
5. Carry Out Final Finish
It is very important to give a final finish to your auto dolly, especially when you are making it all by yourself. You have to do it properly after testing so that it does not look rough. For instance, you maybe need to paint the exterior structure, polish the portions that are still sharp, and much more. After doing this, the tool is ready to move the vehicle. Use a lifter to lift the car, and let the dolly side under it. As you lower down the car onto the dolly, you can move it faster from one place to another. So, give it the last finishing touch, and start your work on car maintenance or repair that was pending due to the absence of car wheel dolly.
Conclusion
The process of learning how to make a wheel car dolly might be simple, but practically it needs skills. You can start making it under professional guidance for the first time. However, as you learn the tricks of making car wheel dollies, you can finish the task on your own. We are also sure that the steps given in the above section must be of great help to you. Follow every step sequence without ignoring a single detail, and see how amazing your DIY vehicle dolly will turn out at the end. With this car wheel dolly, you can move your vehicle around 360 degree rotation at a small place of your garage or parking place.


