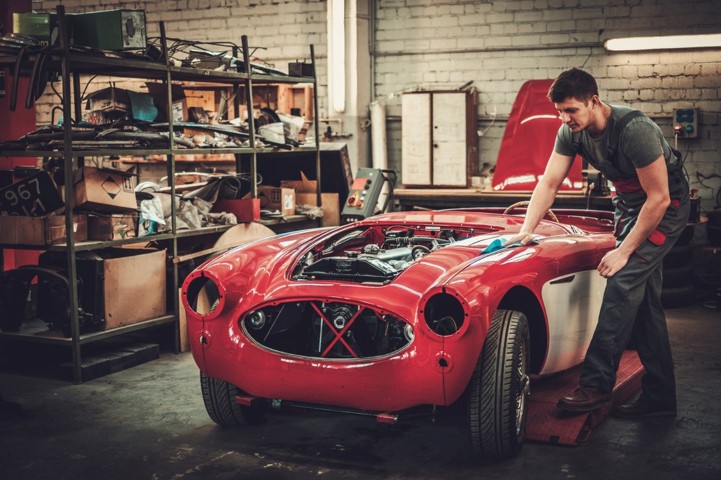
Restoring Old Cars to their former glory can be an overwhelming yet satisfying experience at the same time. Restored cars are often considered collector’s items protected under a car cover and can be a sound financial investment, depending on the make and model. Or, perhaps you’ve got an old Junker that’s on its last legs, and you want to turn it into a family heirloom. Whatever your motivation is, it takes time, skill, the right working space, and the correct tools.

Laying the Groundwork
Restoring Old Cars car is usually done in three parts: the engine, paint, and the interior. Start with the engine and transmission rebuild because, once this is done, the other components are easier to install. There are also several critical factors to consider before embarking on your restoration project.
What Is Your Budget?
Before you go out and buy your dream car, you need to consider if you will have enough time and work out a budget. Add about 35% to your budget for unforeseen expenses. For example, high-quality car and truck covers are important for protecting against dust and damage from tools during the restoration process, yet many consider this an afterthought. Also, take the time to decide if you’ll do all the work or hire professionals for some parts of the project.
How Long Should a Car Restoration Take?
On average, a car restoration should take about 1,000 hours, but every project is different. Even the same car models won’t have the same rust, accidental damage, or previous repair problems.
Some cars may take six to eight weeks, while others could take two years. Still, it depends on your skill level, budget, time, and manpower for Restoring Old Cars.
Do You Have the Right Tools?
The right tools make the process of Restoring Old Cars easier and help perfect your car restoration. You’ll need more than a good set of screwdrivers and a rubber mallet, and many people don’t have the equipment readily accessible for a full restoration. To ensure you get the best results, these are some of the essentials you’d need:
- Engine hoist: The easiest way to work on an engine is when it’s not in the car. The engine hoist removes the car’s engine safely.
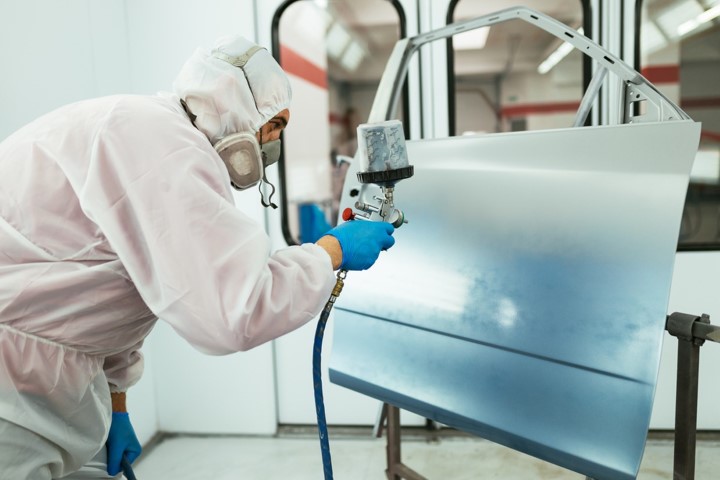
- Paint booth: A paint booth helps you control the paint application process. The booth helps with efficiency and cleaner paint jobs. Though not essential, it does make life easier.
- Electrical testers: old cars often have many electrical problems. Electrical testers, such as a multimeter or circuit finder, are perfect for getting accurate readings and troubleshooting electrical faults.
- Safety glasses: Eye safety is critical, and safety glasses prevent objects from injuring your eyes.
- Jack stands: Jack stands are safer than jacks alone. You need four jack stands for each corner of the vehicle.
- Floor jack: These jacks have casters that you can roll back and forth. They are ideal in larger work areas.
- Transmission jack: This jack helps you with transmission removal and installation.
- Socket sets and ratchets: Two full sets of sockets (a shallow and deep set) help you get the job done. You’d also need at least three ratchets to turn the sockets: one stubby-handle ratchet and two straight-handle ratchets.
- Socket wrenches extensions: Keep about two of each size; 3″, 5″, 8″, and 10″ for times when you need to reach lower into the car.
- Screwdrivers: You would need at least two straight screwdrivers and two Phillips screwdrivers.
- Engine puller (aka Cherry Picker): An engine puller removes and installs engines.
- Engine stand: The engine stand supports the block while you’re working on it.
- Pickle forks (aka ball joint splinters): These are ideal for suspension work like removing and installing ball joints, tie-rod ends, pitman arms, and steering knuckles.
- Spring compressor: These tools help replace coil springs, control arms, ball joints, and bushings.
- Blowtorch: Use a blowtorch to heat rusted parts for easier removal.
Disassembly Made Easy
Before you can start on the restoration, you will need to disassemble the primary car components.
- Remove the battery and empty the gas tank.
- Detach the bumpers, chrome, and stainless trims. Take out window and windshield moldings too.
- Pull out the glass and store it carefully.
- Remove all the seats.
- Mark wire locations on the dash instruments. If the entire dash is removable, keep the dashboard instruments mounted.
- Scribe around the hinge edges to make removal easier. Then, remove the hood and trunk lid.
- Extract the engine and transmission after draining all fluids.
- If the car has a full frame, detach the body. If there isn’t a full frame, remove the axle and hoist the body on jack stands.
- Take out the front and rear suspensions too.
The Restoration Process
Once everything is disassembled, you’ll have a better idea of what needs restoring. Begin with the motor, as this is the most time-consuming and could be the costliest part of the project.
1. Use Original Parts if Possible.
Aftermarket parts may improve the horsepower of your car but decrease the vehicle’s value. Try to replace engine parts with original parts whenever possible. If you can’t find new parts, then used parts from specialty retailers, salvage yards, and online may work for you.
2. Eliminate Rust
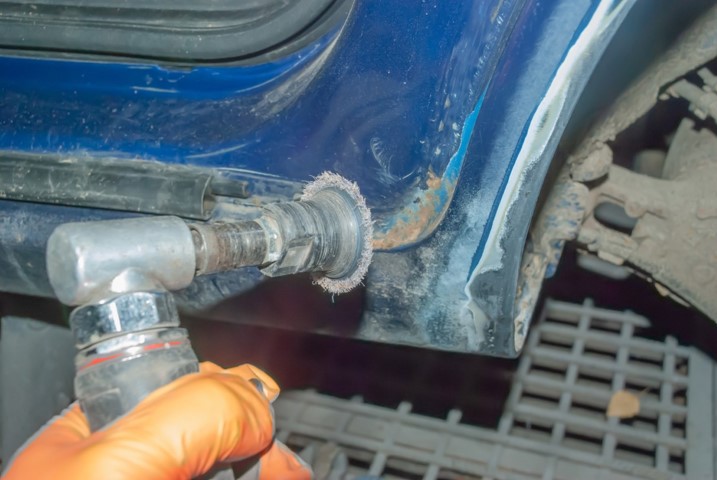
Rust occurs easily, depending on your car’s age and how it was stored. Strip the frame with a sandblaster before removing the rust. Then, apply sulfuric acid or phosphoric acid to change the rust into a water-soluble compound, making it easier to scrub away. Finally, apply a rust stabilizer to kill any rust.

3. Hole Repairs
If the car has a fiberglass body, you can use a matching fiberglass mat to patch the hole.
Remove any paint with a scraper and sand using 40-grit sandpaper. Once you have sanded down to the bare surface, enlarge the sanded area, so you’re left with space to feather the edges with 120-grit sandpaper.
4. Get Rid of Scratches
Scratches that have not gone completely through the paint are easy to fix. Sand the scratched paint and apply compound followed by the scratch-removal solution.
5. Transform the Restoration with Paint
Apply a black primer to the body of the car before you start painting. Once dry, lightly sand the primer to remove any imperfections. The next step is to paint by applying 1-4 layers of clear coat to protect the paint. One clear-coat application may look a bit frosty and could flake after a few months, while four clear coats provide the best results.

6. Keep the Interior Simple and Authentic as Possible
Luscious modern leather seats and intricate upholstery may add personality to your car. But it takes away from the authenticity. Have any seams and tears repaired instead of replacing the vinyl upholstery. Re-stuff the seats instead of replacing the entire seat. If you need to stray from the original design, use materials and fabrics from the car’s era. Restoring an old vehicle to its most original version always increases the value of the car.
Restore a Car for Your Next Project
Restoring Old Cars is a worthwhile project that can be highly rewarding emotionally and financially. Once you have restored your vehicle, protect your hard-earned investment with an all-weather car cover to minimize damage to the exterior from the elements.


